
Save/Submit a Transfer Student Request
This function allows the users to save/submit a Student Transfer Request form with supporting documents.
Record a Student Transfer Request Form with supporting documents
Roles Involved: School Student Registrar and Class Teacher (MOE_TF_REQUESTR)
Navigate to Main Menu > Records and Enrollment > Student Movement > Transfer Student > Transfer Student Request.
To create a new Transfer Request Form, click on the Add a New Value tab.

Click on the lookup icon to select the Student ID of the Student who has requested to Transfer in the Student ID field.
Click on the Add button.
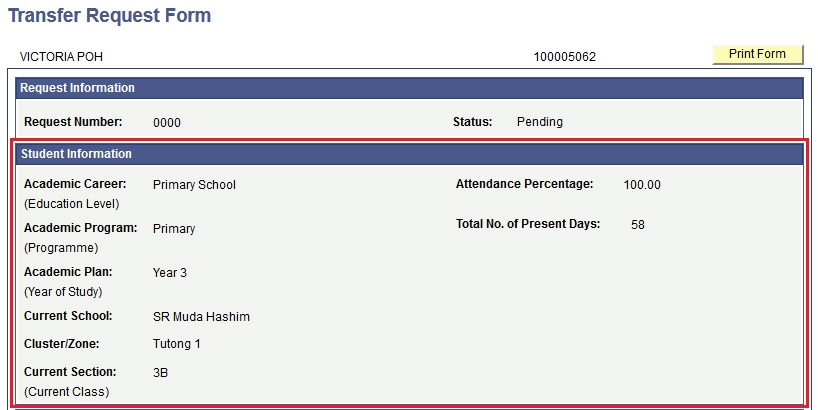
User will be directed to the Transfer Request Form page.
Review the Student Information section for the student who requested the transfer.
Next, scroll down to fill in the details of the transfer into Transfer Request Form.
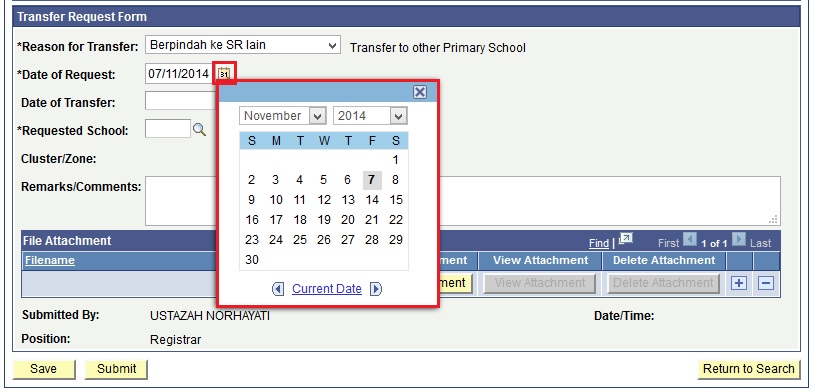
Select the category of transfer from the *Reason for Transfer drop-down list.
- ‘Berpindah di antara SM dan Sekolah Sukan’ (Transfer between Secondary and Sports School)
- ‘Berpindah ke PTE lain’ (Transfer to other 6th Form)
- ‘Berpindah ke SM dalam kluster’ (Transfer to Secondary School inside cluster)
- ‘Berpindah ke SM luar kluster’ (Transfer to Secondary School outside cluster)
- ‘Berpindah ke SR lain’ (Transfer to other Primary School)
- ‘Berpindah ke kelas lain’ (Transfer to another class)
Click on the Calendar icon to select the *Date of Request which is the date the transfer request was made by the student/parent.
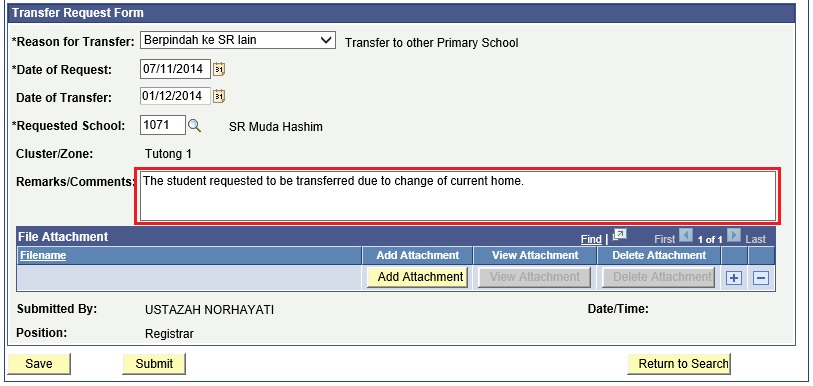
Click on the Calendar icon to select the *Date of Transfer which is the date the student will actually transfer from school/class.
If the transfer is to another school, click on the lookup icon against *Requested School to select the new school.
If the transfer is to another class within the current school, click on the lookup icon against *Requested Section to select the new class section.
Enter any additional information relevant to the transfer request as Remarks/Comments.
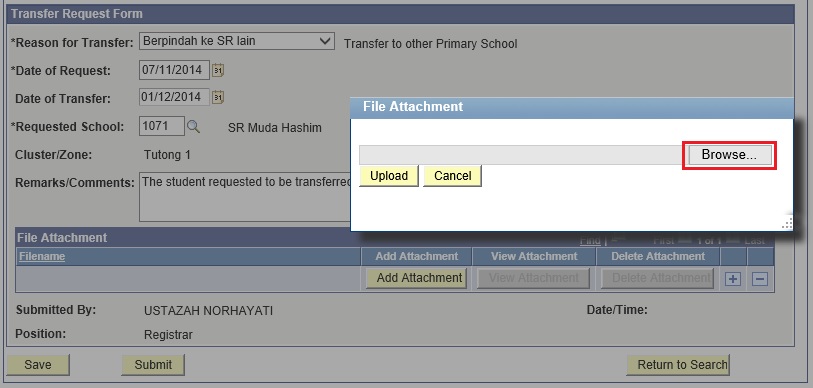
Click on the Add Attachment button to attach the supporting document.
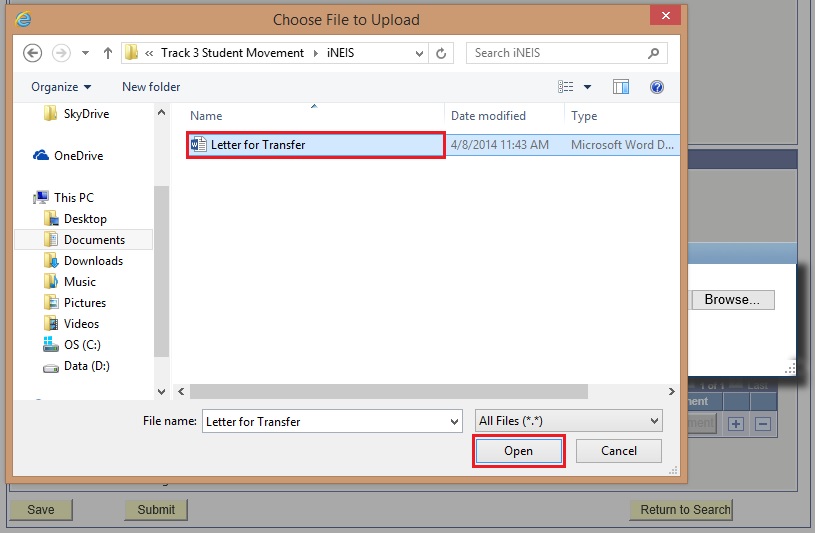
Click on the Browse button to select the document.
Select the file from the computer (any format with a maximum size of 2MB) and click on Open button.
Click on Upload to upload the selected document.
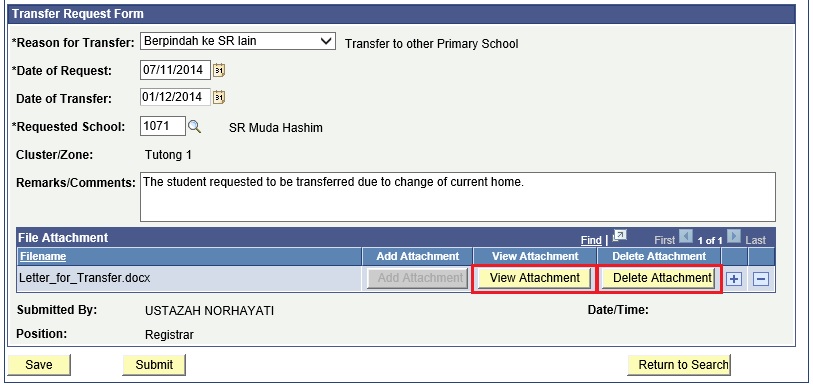
Click on Cancel to cancel the upload.Click on the View Attachment button to view the attached document.
Click on the Delete Attachment button to delete the attached document.To add more supporting documents, click on the ‘+’ icon.
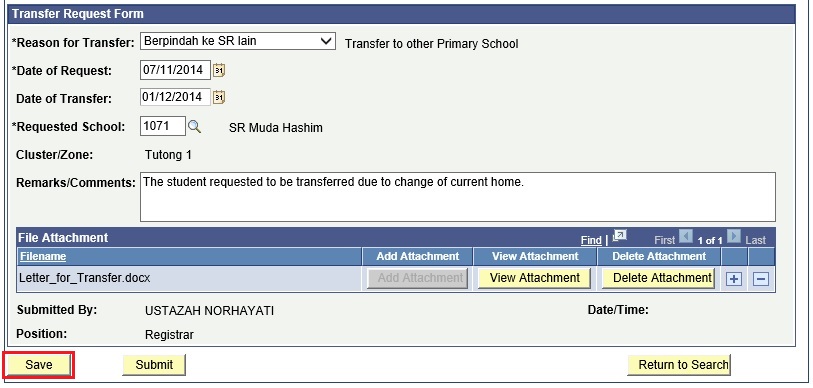
To delete any unnecessary documents, click on the ‘-‘ icon.Click on the Save button to save the Transfer Request Form.
Click on the Return button on the Confirmation page.
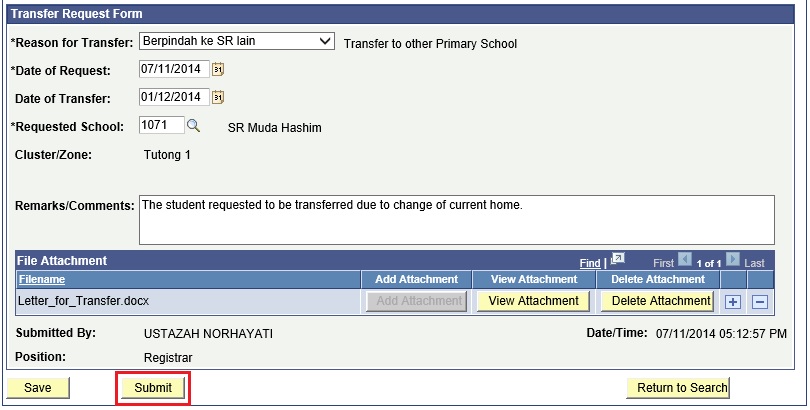
Once the request is successfully saved, a Request Nbr will be assigned and the Status will remain as ‘Pending’.
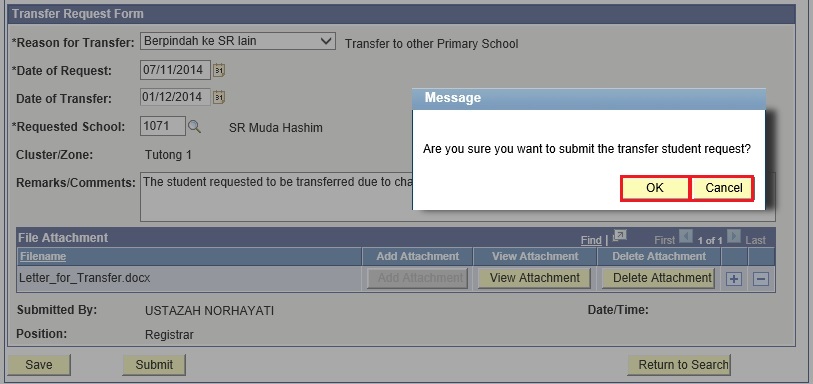
To submit a transfer request, click on Submit button for the Approver to process the request.
Click on OK button, to proceed to submit the Transfer Request form.
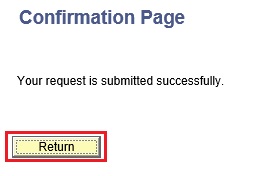
Click on Cancel button, to return back to the Transfer Request form without submitting it.Upon clicking OK, click on the Return button on the Confirmation page.
Once the request is successfully submitted, a Request Nbr will be assigned and the Status will be changed to ‘Submitted’.
- Biographical
- Add/Update a Person
- My System Profile
Email notification to be sent out.


Note:
List of Transfer Reasons;


Note:
Once the Transfer Request is ‘Submitted’, the Current School Approver will be sent an email. The Current School Student Registrar and the Current Class Teacher will receive a copy of the email. To receive the Email notification, kindly make sure that the Electronic Email Address Information is updated in the system via:For the steps on how to update the Electronic Email Address Information, go to Maintain Teacher Electronic Address.
